How to Diy Door Mat?
DIY door mats are fun stuff. Not only does this add a personal touch to your home, but it also allows you to experience a rare creative joy.You can customize it with your favorite colors, patterns, and phrases to make it one-of-a-kind. Not to mention that creating your own mat could potentially be cheaper than purchasing a pre-made one. The materials, steps and tips to create your own custom door mat in this guide.
Table of Contents

Key Takeaways
·You can personalize your mat with colors and sayings that reflect your style.
·DIY doormats are usually cheaper than buying them.
·For the unsteady hand, stencils are necessary for clean cut designs.
·Consider sealing your mat to protect it from the weather and wear.
·Include a more creative seasonal theme or something just humorous to make sure your mat is one of a kind.
Supplies for Diy Door Mat
It can be quite an amusing and fulfilling project to design your own door mat. You can begin with:
Choosing the Right Mat
·Simple coir mat : That is your design canvas. Available from most big-box stores, online…
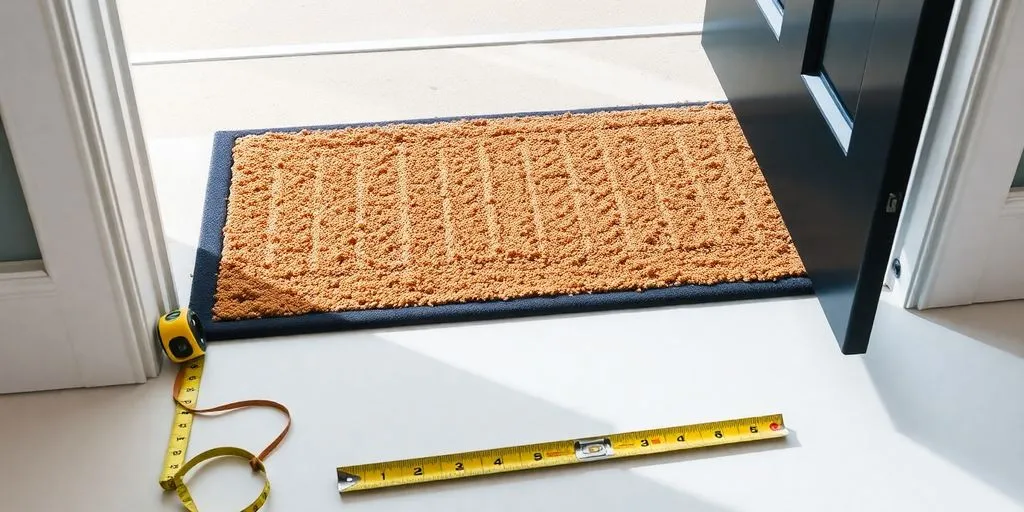
·Size: The size Obviously this is going to be one of the primary considerations for most things, it fit in your entryway.
·Texture: A coarse texture acts like a dirt locker, keeping particles trapped and your place clean.
Essential Painting Supplies
·Weather-proof paint: Jincheng recommends painting outdoor sculptures with a weatherproof paint so the design doesn’t fade over time.
·Assorted Sizes of Paintbrushes: This will help you with various details.
·Painters tape: You need this to make those crisp lines and that will also help you protect areas you don’t want painted.
Customization with Optional Tools
·Cricut or Silhouette machine: These machines can be used to cut designs out of vinyl or paper if you want to make stencils.
·Adhesive spray:To get the stencil to stick better on your mat.
·Sealer: A can of sealant to protect the design from the environment.
A fun bonus is that you can create your own custom color combinations and saying to make this mat uniquely yours!
DIY Door Mat Tutorial
Preparing Your Workspace
Before you start with your DIY door mat project ensure you have cleaned and organized the area, where you will be working on. Here’s what you need to do:
·Materials Needed to Make your DIY Embroidered Coir Rope MatYou also need a coir mat, paint and tools.
·Cover the area you will be painting in with some old newspaper, or a drop cloth to protect it from any paint spills.
·Be sure to have soft enough lighting so you can see your design properly.
Designing Your Stencil
One of the fun steps is making a stencil. Here’s how to do it:
1.Design that suites your style: Shapes, or words. whichever you fancy.
2.If you have a cutting machine, use it to cut out your design from stencil material.
3.If you do not have a machine you can draw on freezer paper and cut out with scissors.
Painting Your Mat
Now comes the exciting part—painting your mat! Follow these steps:
·On your mat place the stencil and stick down with some tape so it doesn’t shift.
·Dab paint onto the stencil with a sponge brush Dabbing is key to avoid bleeding of paint.
·Use two or three coats of paint, waiting for the first to dry before applying the next.
·After the paint dries, peel back the stencil to let your design show through.
Do not forget to dry it completely before using the mat again. This will help the paint set properly and last!
Quick Tips Tricks to achieve a DIY Door Mat like the Pro’s
Using the Right Paint
It is important you choose the correct paint when designing your own doormat. Here are some tips:
·The outdoor acrylic paint made them almost impossible to scratch!
·Select colors that will stain match with your house.
·Always patch test before you paint.
Avoiding Common Mistakes
Here are some of the common errors to avoid that will help you in completing your project without any hiccups:
1.Not prepping: Always start by cleaning your mat before you paint.
2.Stencil: Stencil will keep your design clean.
3.Overdrying: Allow each layer to dry before adding more.
Sealing Your Finished Mat
Painting your mat is only the first step, sealing your mat will protect if from debris. Here’s how:
Seal your design with a polycrylic sealant.
·To get the maximum assistance, prepare at least two coats.
·Let the sealant may needs to dry up 24 hours before use of the mat.
·And don’t forget, the better prepared the mat gets the longer it will last and look clean!
That way, you are able to produce a stylish doormat that will last for quite some time and highlight the entrance of your home!
DIY Doormat Creative Design Ideas
Seasonal Themes
·Fall doormats: perfect for layering over larger flat weave rugs to make your front porch even cuter during the fall! Talk about a homely way to usher in fall!
·Winter Wonderland: cover in just white and blue with blue to represent the wintriness or include as snowflakes for a fun party vibe.
·Spring Blooms: Paint flowers or create a stencil to apply outdoors, and the entryway will look fresh and vibrant.
Personalized Messages
·Create your individual own “family sayings” -door-mat.That could be something light and humorous or sincere.
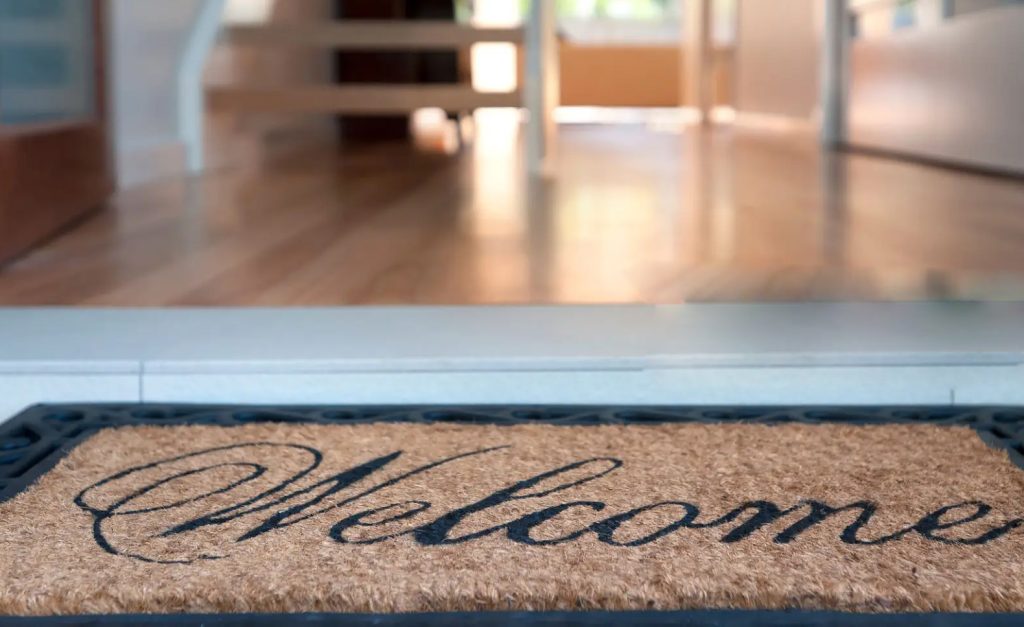
·Greeting: Even as simple as a “Welcome” or “Hello” can give your house an inviting feel.
·Personalized Names: The family name or your initials gives a little extra touch.
Fun and Quirky Designs
·Fun Quotes: as “Caution Dog” or “Off Your Shoes”.
·Animal Print Design, use an animal or your pet for inspiration.
·Geometric Patterns: Stencils can be used to develop modern geometrical forms for a trendy appearance.
Always keep in mind to the sky can be-the-limit! Your doormat is a perfect opportunity to show off your individualized style.

How to Look after Your DIY Door Mat
Cleaning Tips
It is very important to clean the doormat when you are going to get it all homemade. Here are some simple steps:
1.Hose it off: For natural fiber mats, hosing them down and then letting them dry in the sun is usually enough. Once you have suctions it will be easier to use the shop vacuum on the larger particles.
2.Spot clean:Clean spills with a damp cloth after applying mild soap on it. Using harsh chemicals which may damage paint.
3.Dry it out: Be sure to air dry your mat thoroughly before re-entering the wild.
Storing Your Mat
Seasons can get rough, so when not in use here are some storage tips:
·Meet the moisture head on: Store your mat in a dry place to avoid potential vegan mold and mildew.
·Keep out of direct sun beam as this can cause the colors to fade
·Roll, don’t fold: Rolling your mat will help keep it in form and prevents wrinkles.
Touching Up Faded Designs
Over time, your mat may fade. Here’s how to refresh it:
·Re-paint: Touch up faded areas with new paint of the same color as the original batches.
·Protect it: Using a protective sealant will protect the color from fading faster.
·DIY projects: Inspect your mat every few months and perform touch up maintenance as needed.
Taking care of your DIY doormat doesn’t just help to keep the entrance of your home looking good, but also to make it last longer. Regular care is key!
DIY Doormat: My Budget Alternatives
If you want to get a little fancy, a DIY door mat doesn’t have to be too punishing on the wallet. The following are some budget picks to check out:
Using Household Items
·Old Towels: Cut it and sew, to look like it will be a mat.
·Cardboard: layer and decorate if you want a simple temporary mat
·Scrap Fabric: sew together -parallel lines for honeycomb.
Finding Affordable Supplies
·Dollar Stores: Basic mats and paint.
·Thrift Stores: If you are lucky, you will come across some used mats that need fixing up.
·Online Auctions: Look for discounted supplies.
DIY Without Expensive Tools
·Stencils:Make your own designs with a paper (or cardboard) stencils
·Paintbrushes: A simple brush can work just as well as fancy tools.
·Spray Paint: Cheapest, fastest.
Diy door mat is a very pleasant project as well as budget. If you like crafting a lot making these can be a no-brainer as this is also an incredibly easy and inexpensive DIY project.
Conclusion About Your DIY Doormat
Not only this is fun, but it also helps you add your own style. Pick your favourite colours, fonts and include a caption from your family personality. Keep in mind, to novices, it is a simple process. Collect your supplies, let your creativity run wild, and welcome guests with this masterpiece!
Frequently Asked Questions
How Long Will My DIY Mat Really Last?
On an average, a DIY doormat works for like 12 to 24 months depending on how much you use it. You can make it last even longer if you use it only on occasions.
What kind of spray paint for doormats?
While I do not suggest using spray paint on a doormat ever, it works so well for coir mats!Of course, be sure to select an outdoor safe one.
Do you have to seal a painted doormat?
It will be beneficial to seal your doormat. This will help to protect the paint and make it last longer.
What type of paint do I need?
It is best to use outdoor acrylic paint because it can withstand the weather and wont fade fast.
Design on Doormat can I customize it?
Absolutely! There you can custom door mat, take the colors, the fonts or leave it as is, you can also add a message that only that visitor will see these.
How hard is it to DIY a doormat?
Not at all! Make your own DIY doormat, often costing less than $15


